
How to utilize Microsoft Planner to increase productivity
Microsoft Planner is an amazing tool for a collaborative team project.
You can integrate it with Teams so that all of your data for that project and all of your files and information can be located in one place.
Here’s how you can utilize Planner to track and complete your tasks.
Once you’re signed into your Microsoft Office account, go to the app launcher and look for Planner.
Select “new plan” and give it a name specific to your project and you’ll add a task to get started.
You can also create “buckets” which group similar tasks together.
Having separate buckets can help you know what has been completed, still in progress or long-term tasks.
Once you “add a task”, you can select a due date and assign it to other members on your team.
When you click on a task, you’ll see more details like notes, checklists, attachments and comments.
Completed tasks are then moved to the completed bucket so you can track what’s next in your team project.
Happy Planning!
For more videos on how to better use Microsoft Teams, visit our series here.

Related Insights
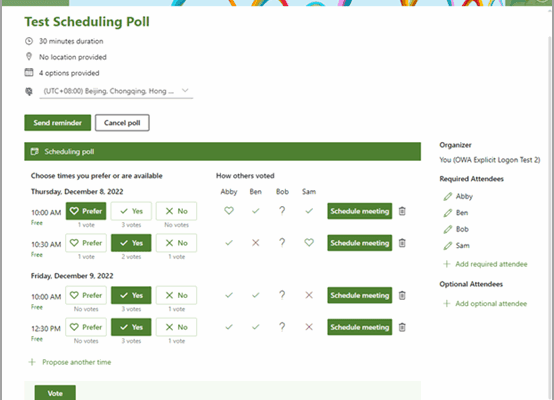
Still Sending Endless Emails to Schedule a Meeting?
June 25, 2025
If scheduling a meeting feels like a never-ending email thread or a 15-minute search through calendars, there’s a better way. Instead of relying on the phrase, “Just let me know what works… Read more

Microsoft Teams streamlined experience for navigating chats, teams, and channels
April 23, 2025
Microsoft Teams Just Got an Upgrade: Here’s What Leaders Need to Know A new feature update quietly rolled out in Microsoft Teams and it could be a welcome change for busy teams… Read more
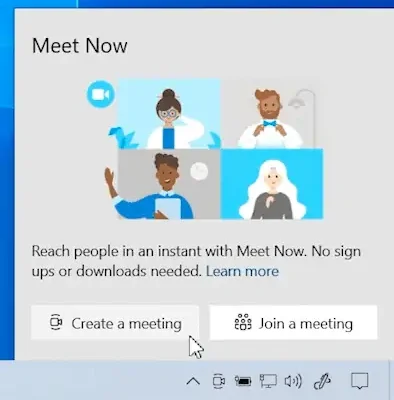
Try the Meet Now feature in Microsoft Teams!
April 16, 2025
Looking to connect on a video call instantly with your team? Try the Meet Now feature in Microsoft Teams! Whether it is a quick catch up, brainstorming session, or impromptu virtual meeting,… Read more